Video Walkthrough
Getting Started
Welcome to Rooler! This guide will walk you through the initial setup and core workflows.1
Receive Your Invitation
Rooler uses an invitation-based system. You’ll receive an email with:
- Your login credentials
- A temporary password
If you forget your password later, visit our Forgot Password section.
2
Log In to Rooler
Navigate to app.rooler.ai and log in with your credentials.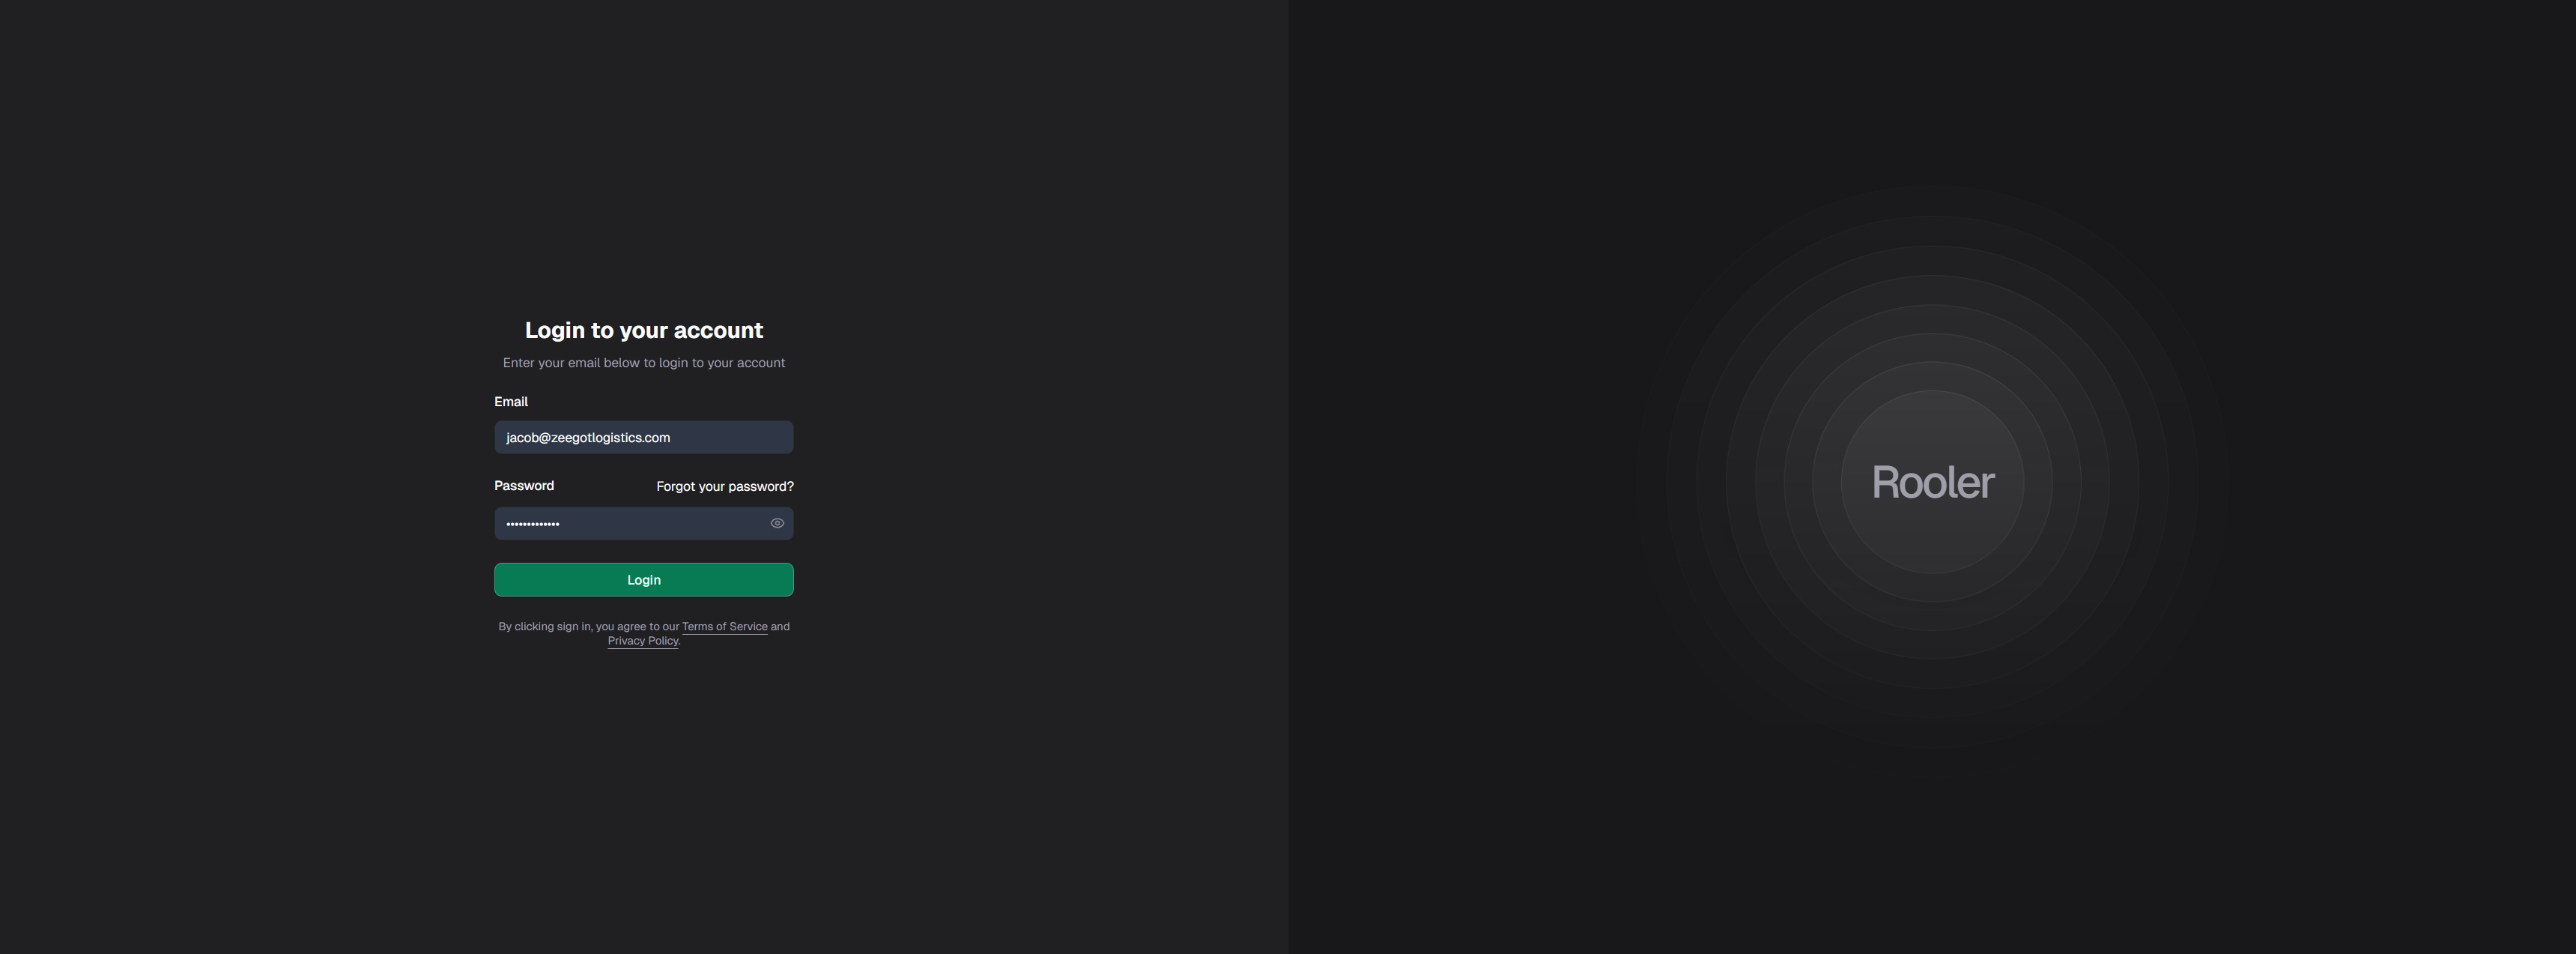
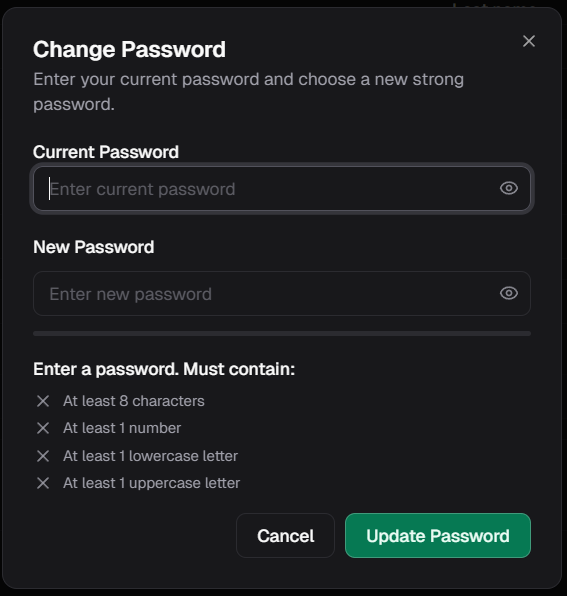
- At least 8 characters
- At least 1 number
- At least 1 lowercase letter
- At least 1 uppercase letter
3
Organization Setup
Your organization is set up by the Rooler team, but if you have Owner or Admin role permissions, you can:
- Create new companies within your organization
- Manage existing companies
- Configure company settings
4
Set Up Integrations
Connect your essential tools to Rooler:Or navigate manually:
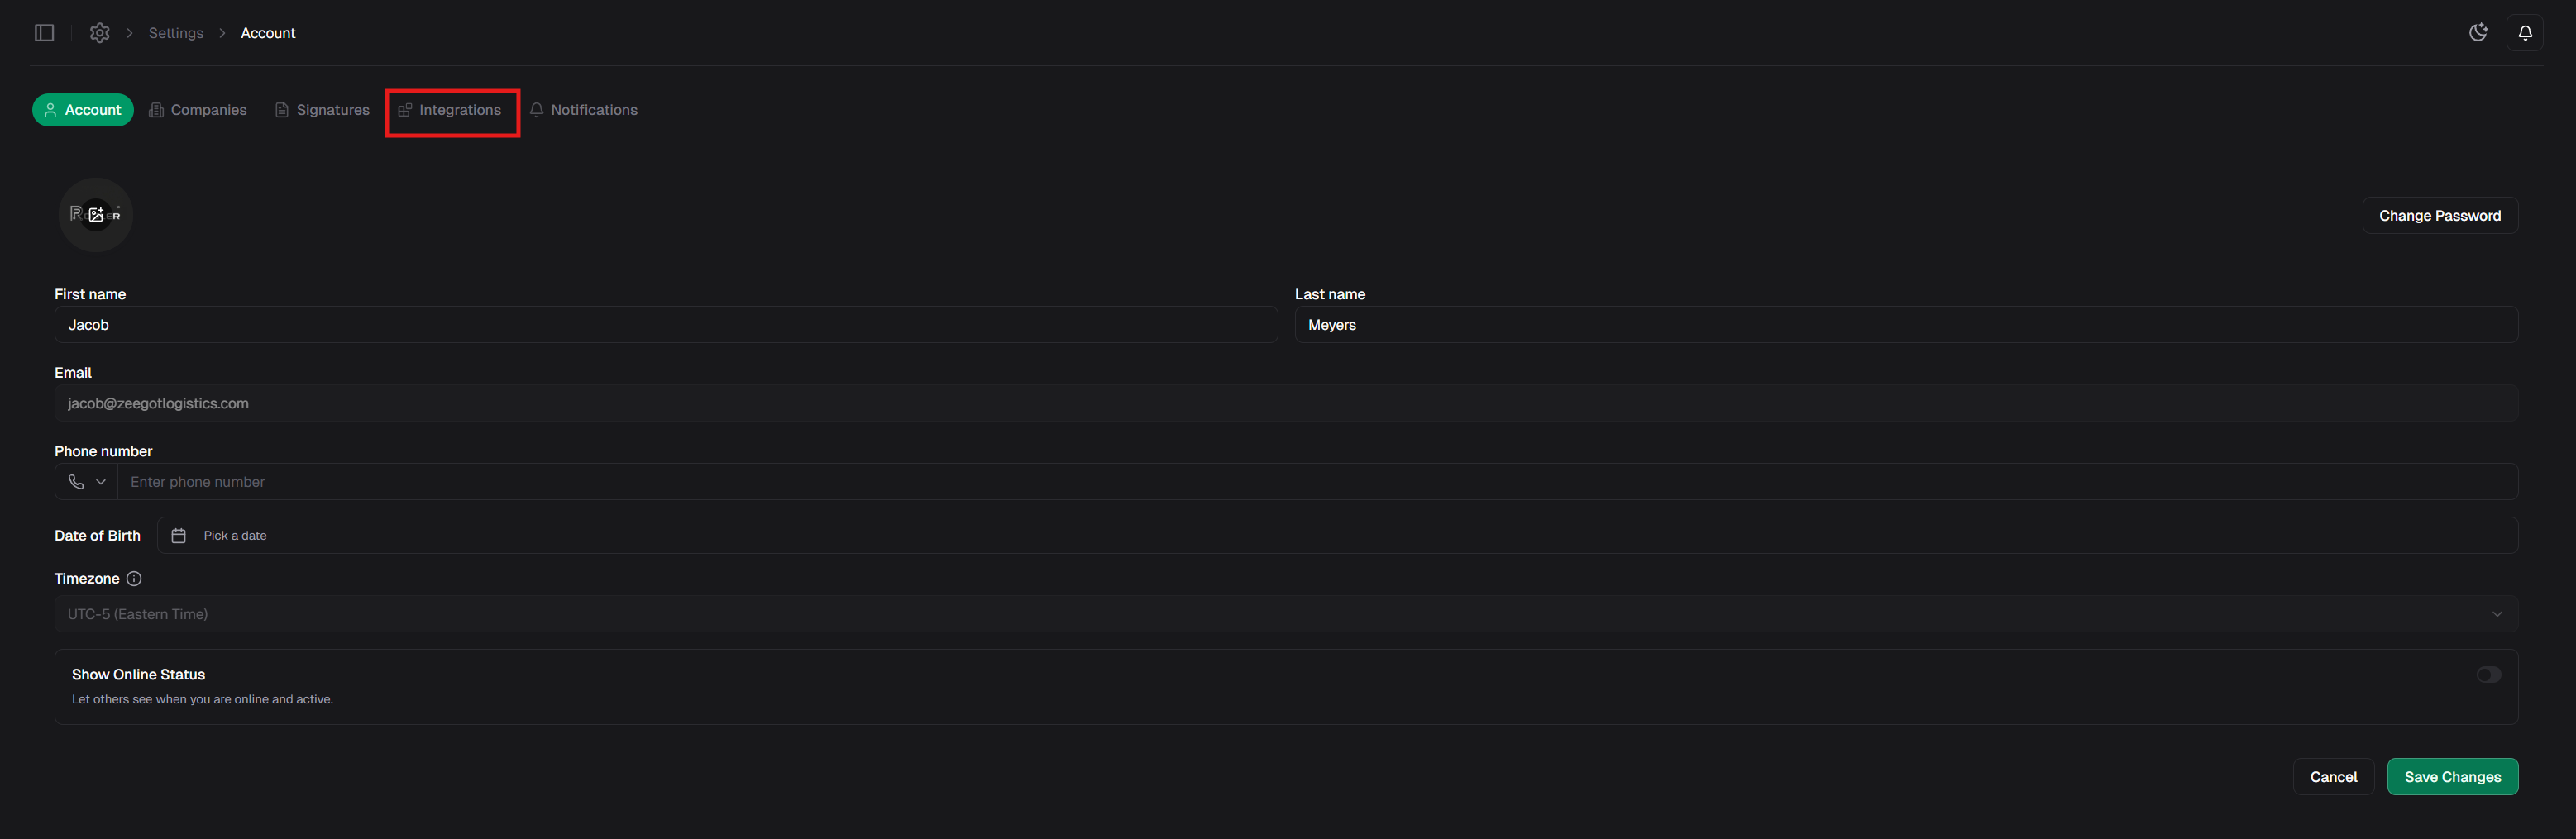

- Email - Sync your Gmail, Outlook, or other email providers
- Telegram - Connect your Telegram account for messaging
- ELD Systems - Integrate with Samsara, Motive, or other tracking systems
Admin/Owner Only: ELD system integrations can only be managed by users with Admin or Owner roles.
Quick Access: Press 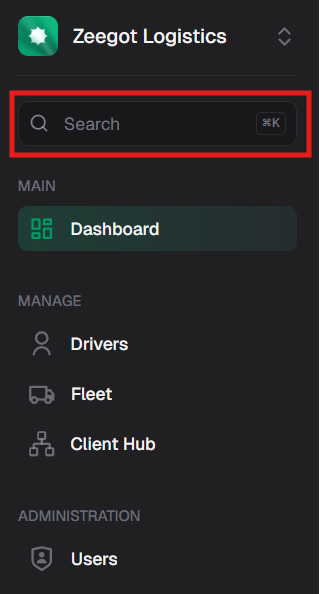
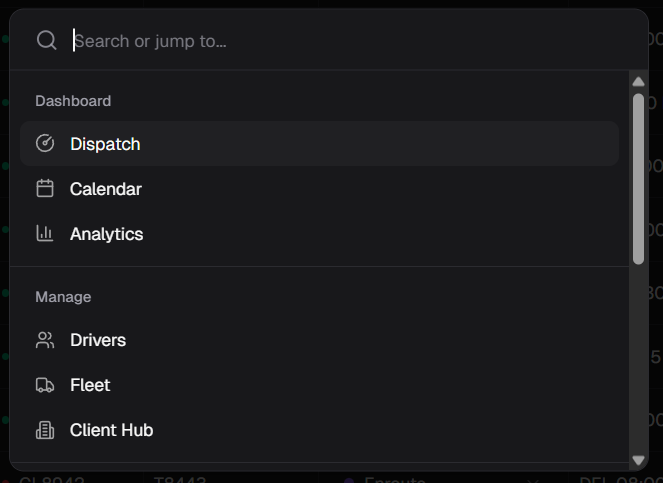
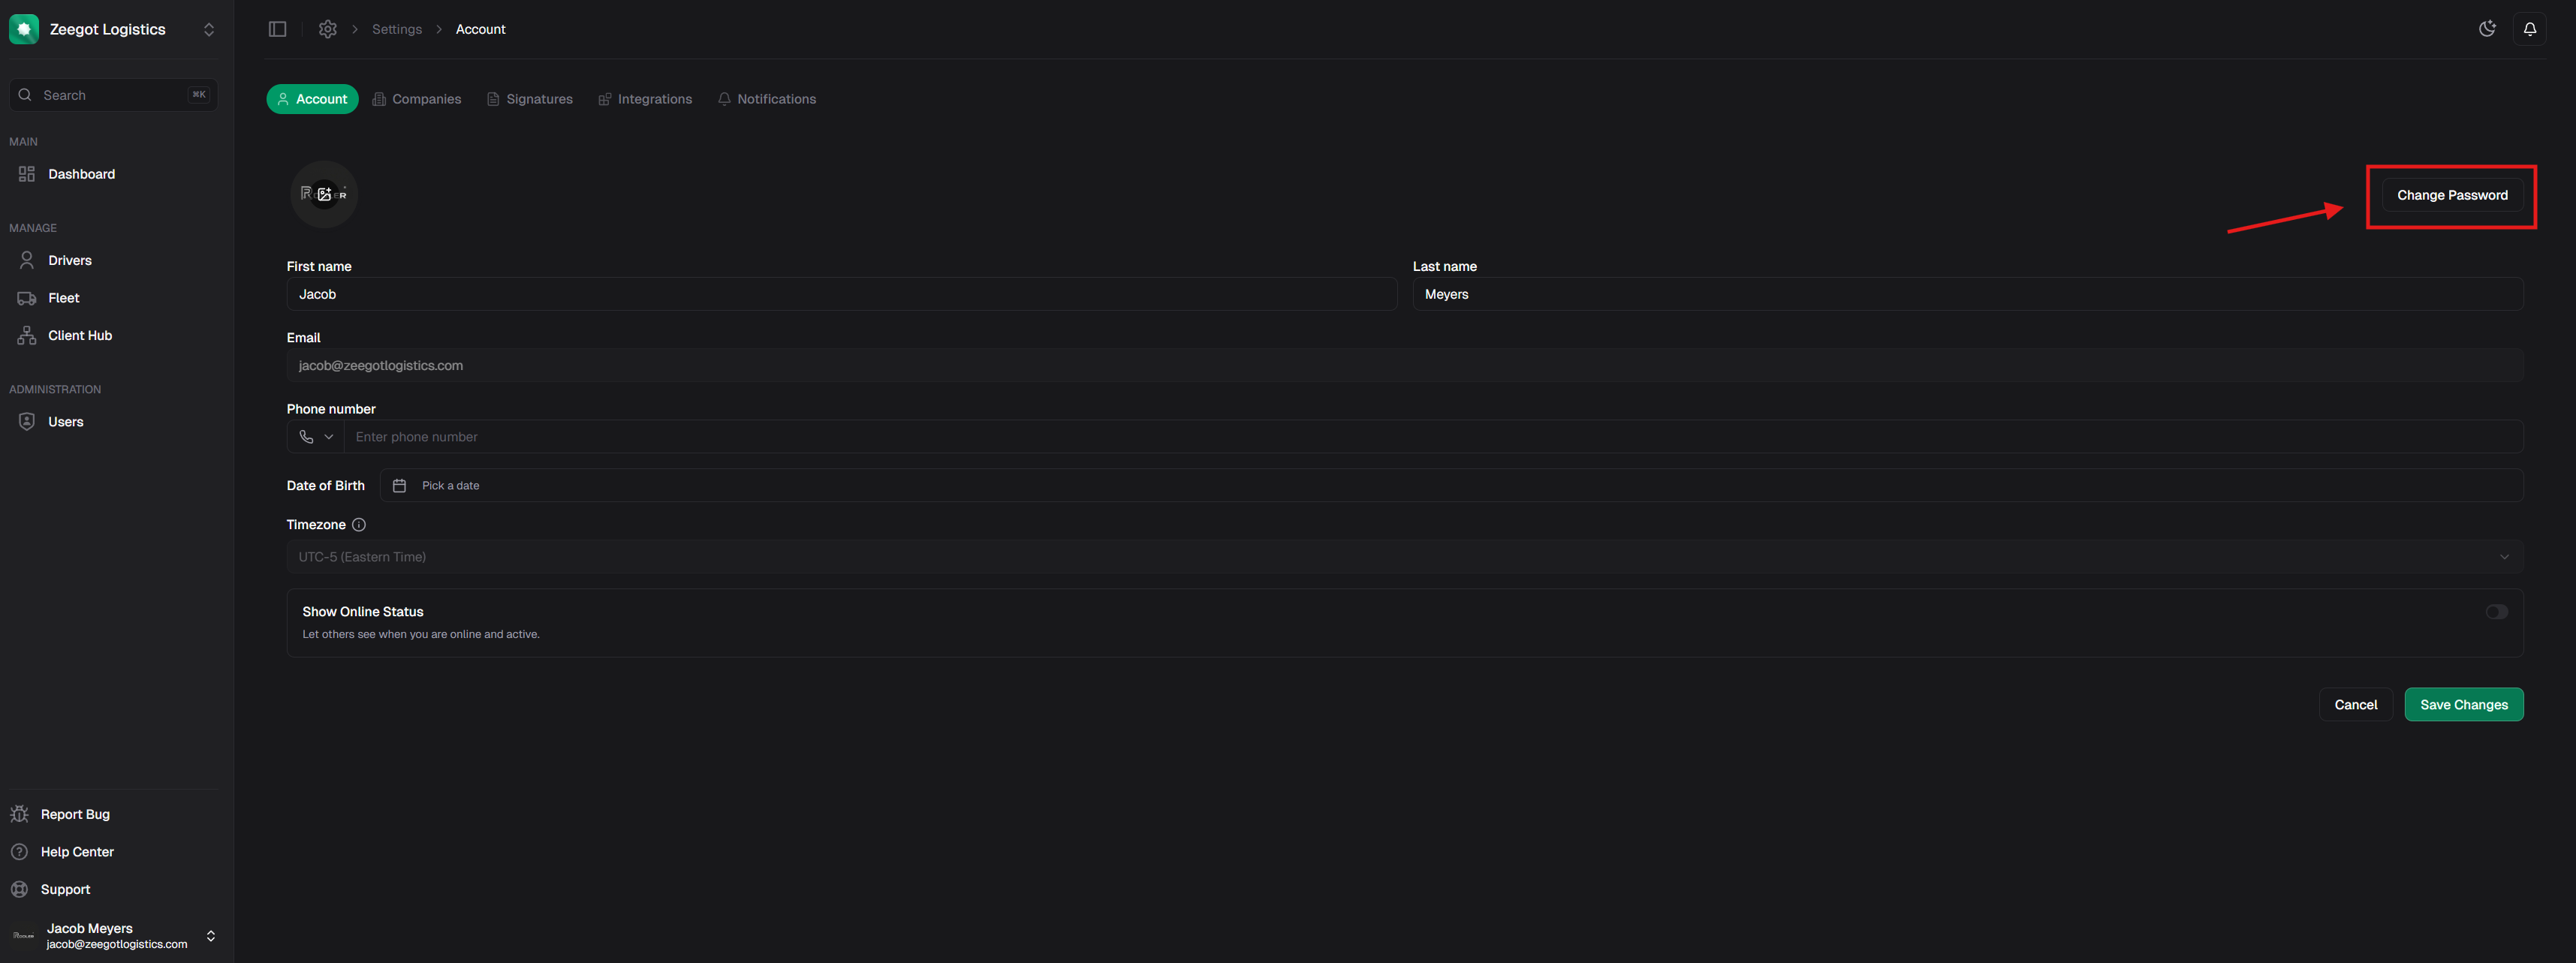
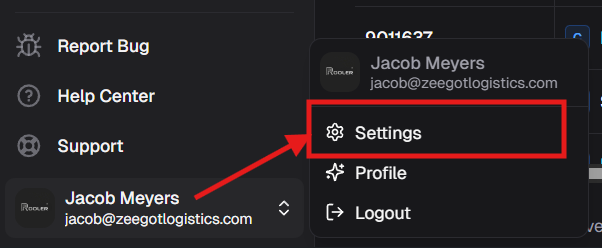
Ctrl+K (or Cmd+K on Mac) to open the command palette:- Click your user dropdown at the bottom left
- Select Settings
- Click the Integrations tab
- Connect your integrations
5
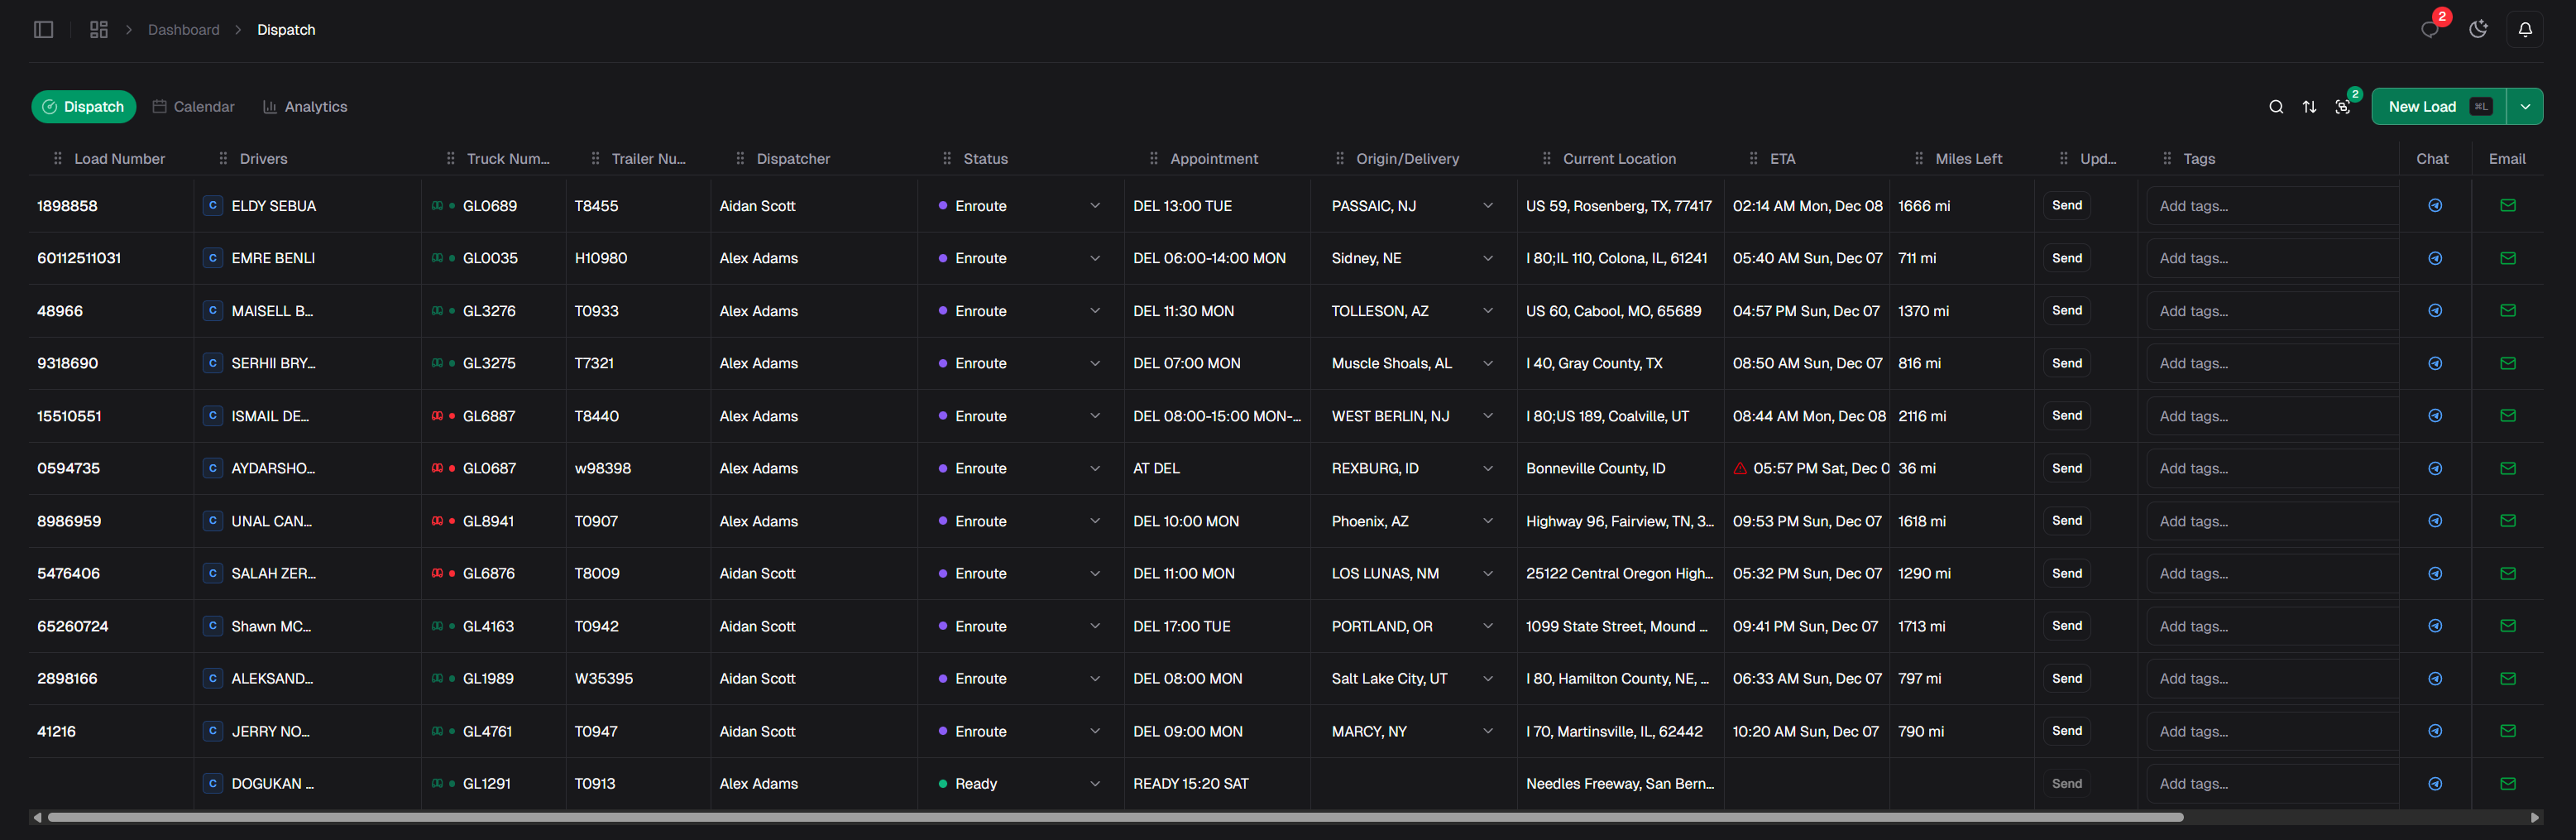
Organize Your View
Group your dashboard by dispatchers to focus on what matters.Click the filters/groups icon in the top toolbar:
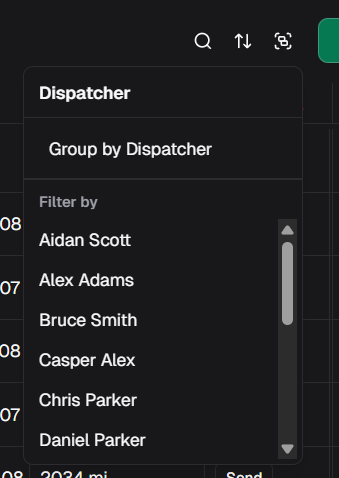
- Dispatcher Grouping
- Mixed Grouping
Loads are organized with collapsible sections for each dispatcher, making it easy to focus on one dispatcher at a time: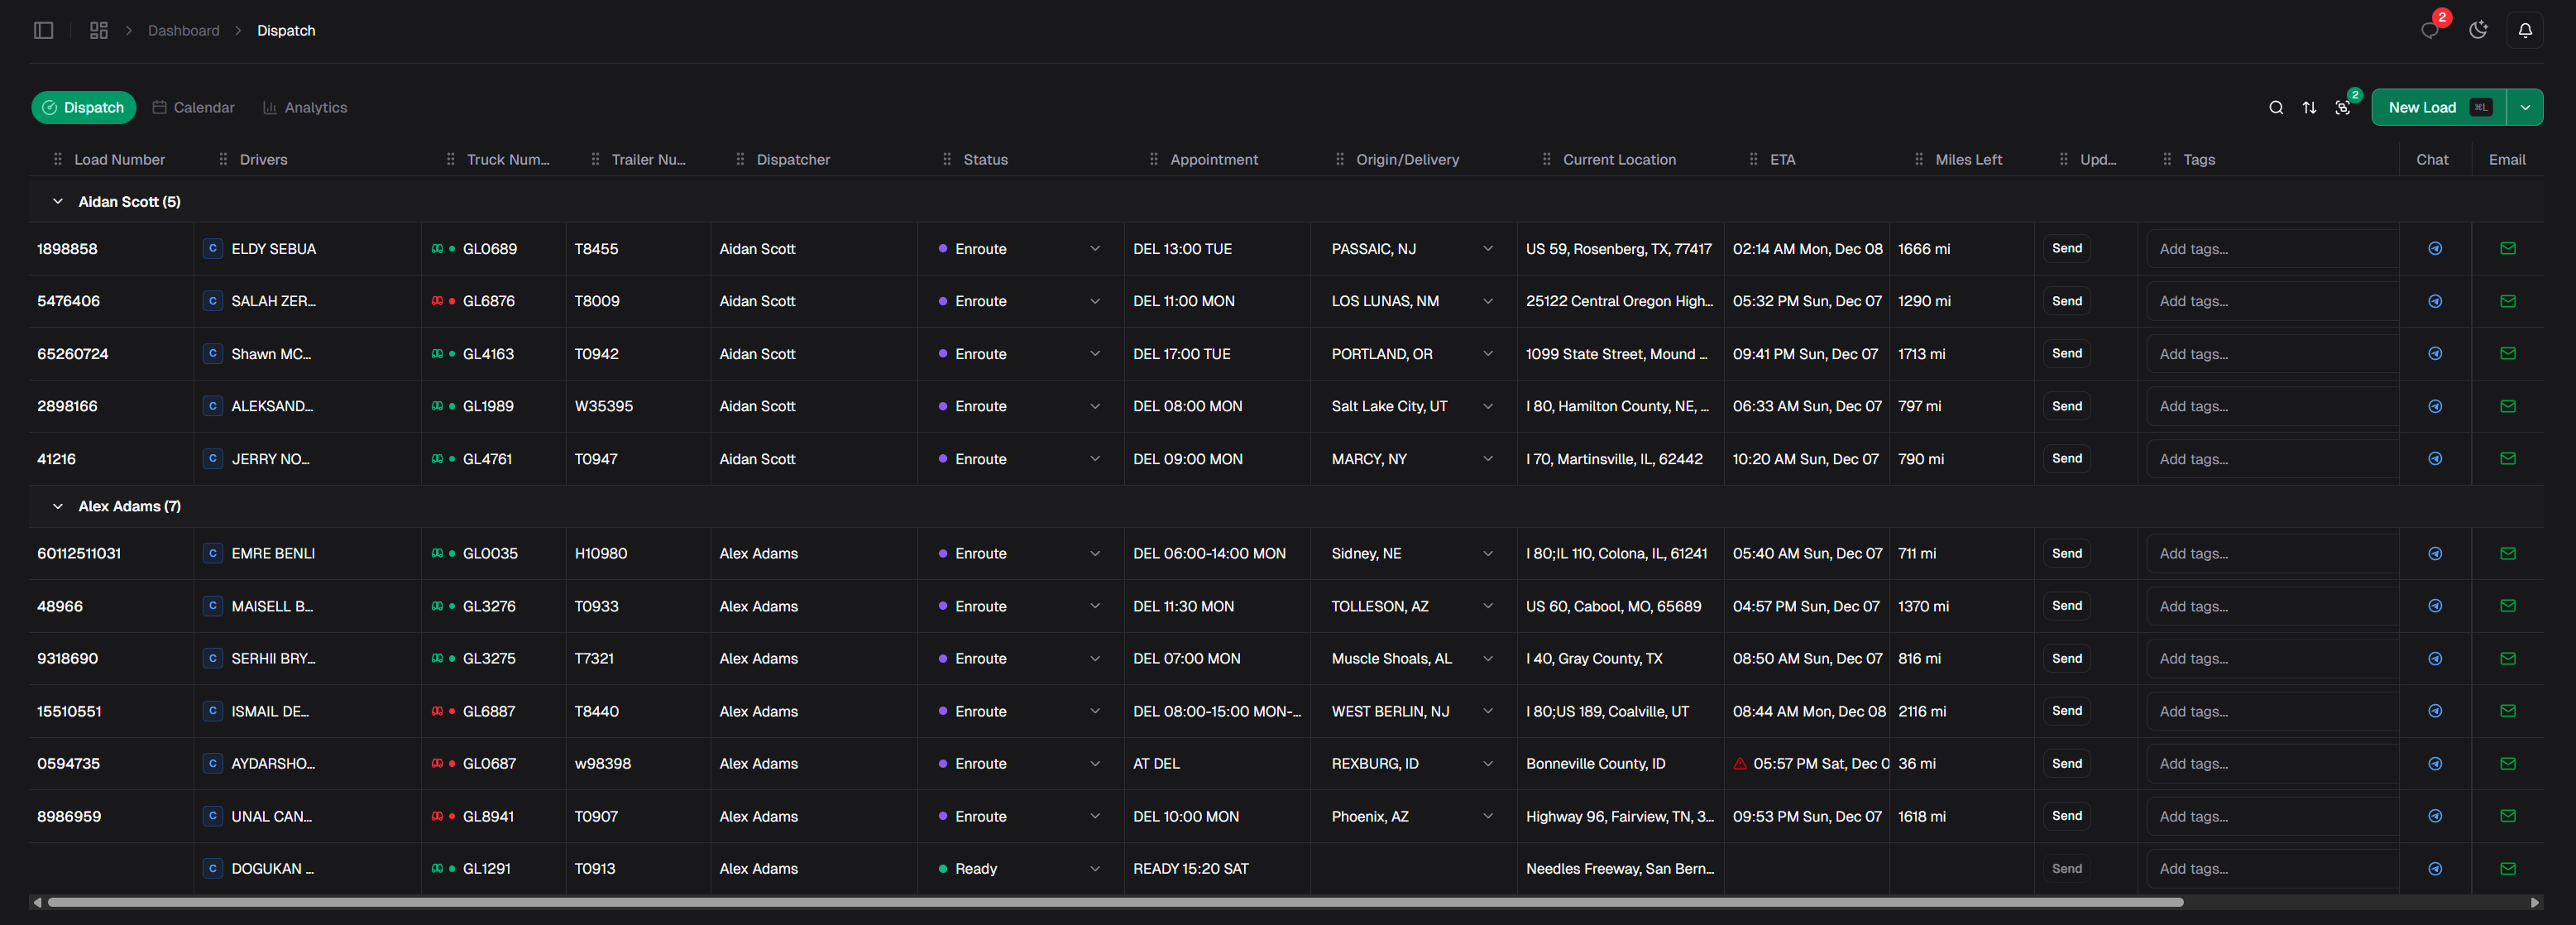
6
Create Your First Load
Ready to start dispatching? Create a load in seconds:The load creation form will open: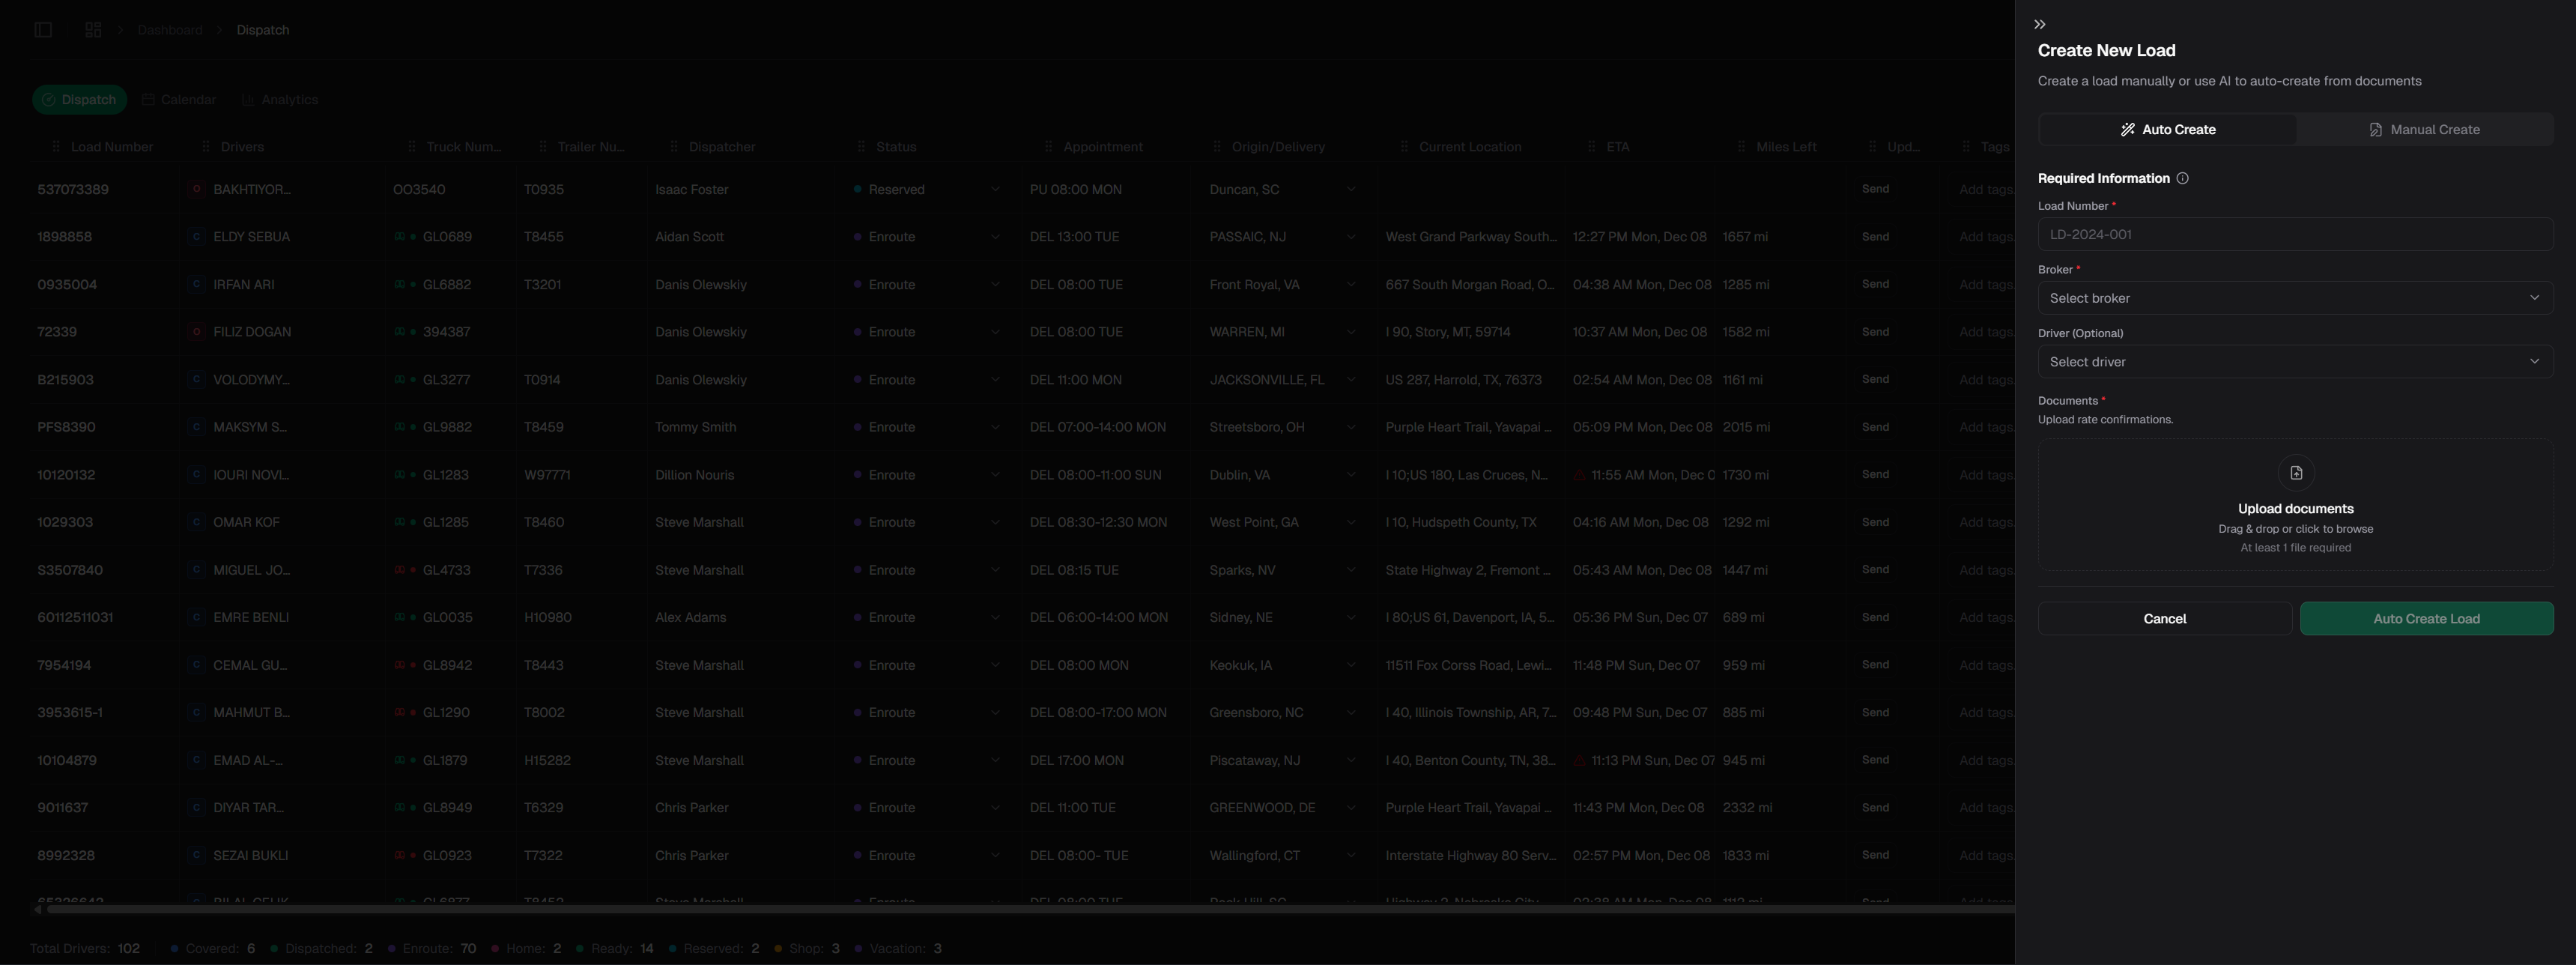
- Keyboard Shortcut
Press
Ctrl+L (or Cmd+L on Mac) to open the load creation panel from anywhere.
- Automatically - AI extracts load details from rate confirmations
- Manually - Enter load information step by step
Essential Keyboard Shortcuts
Speed up your workflow with these shortcuts:
View all keyboard shortcuts
What’s Next?
Explore the Dashboard
Learn how to use the Dispatch and Gross Boards
Manage Your Fleet
Set up your drivers, trucks, and trailers
Set Up Clients
Add and manage your broker relationships
Customize Your Workspace
Tailor Rooler to your workflow
Need Help?
Get Support
Contact our support team
Report an Issue
Found a bug? Let us know